2.2.2 Pads
Click the Pads button to view the 16 pads displayed in a 4x4 layout. Click a pad to play back the assigned drum sound and select it as the Focused Pad in order to edit its assigned drum in the Pad Inspector, choose its Tape Saturation level, and program its sequence in the Groove Engine area. A white highlight indicator surrounds the perimeter of the pad to show that it is currently the Focused Pad, and pads flash when triggered by MIDI input or sequencer playback.
PLEASE NOTE: If the loaded drum kit does not include a particular drum sound, the corresponding pad appears empty (grayed out).
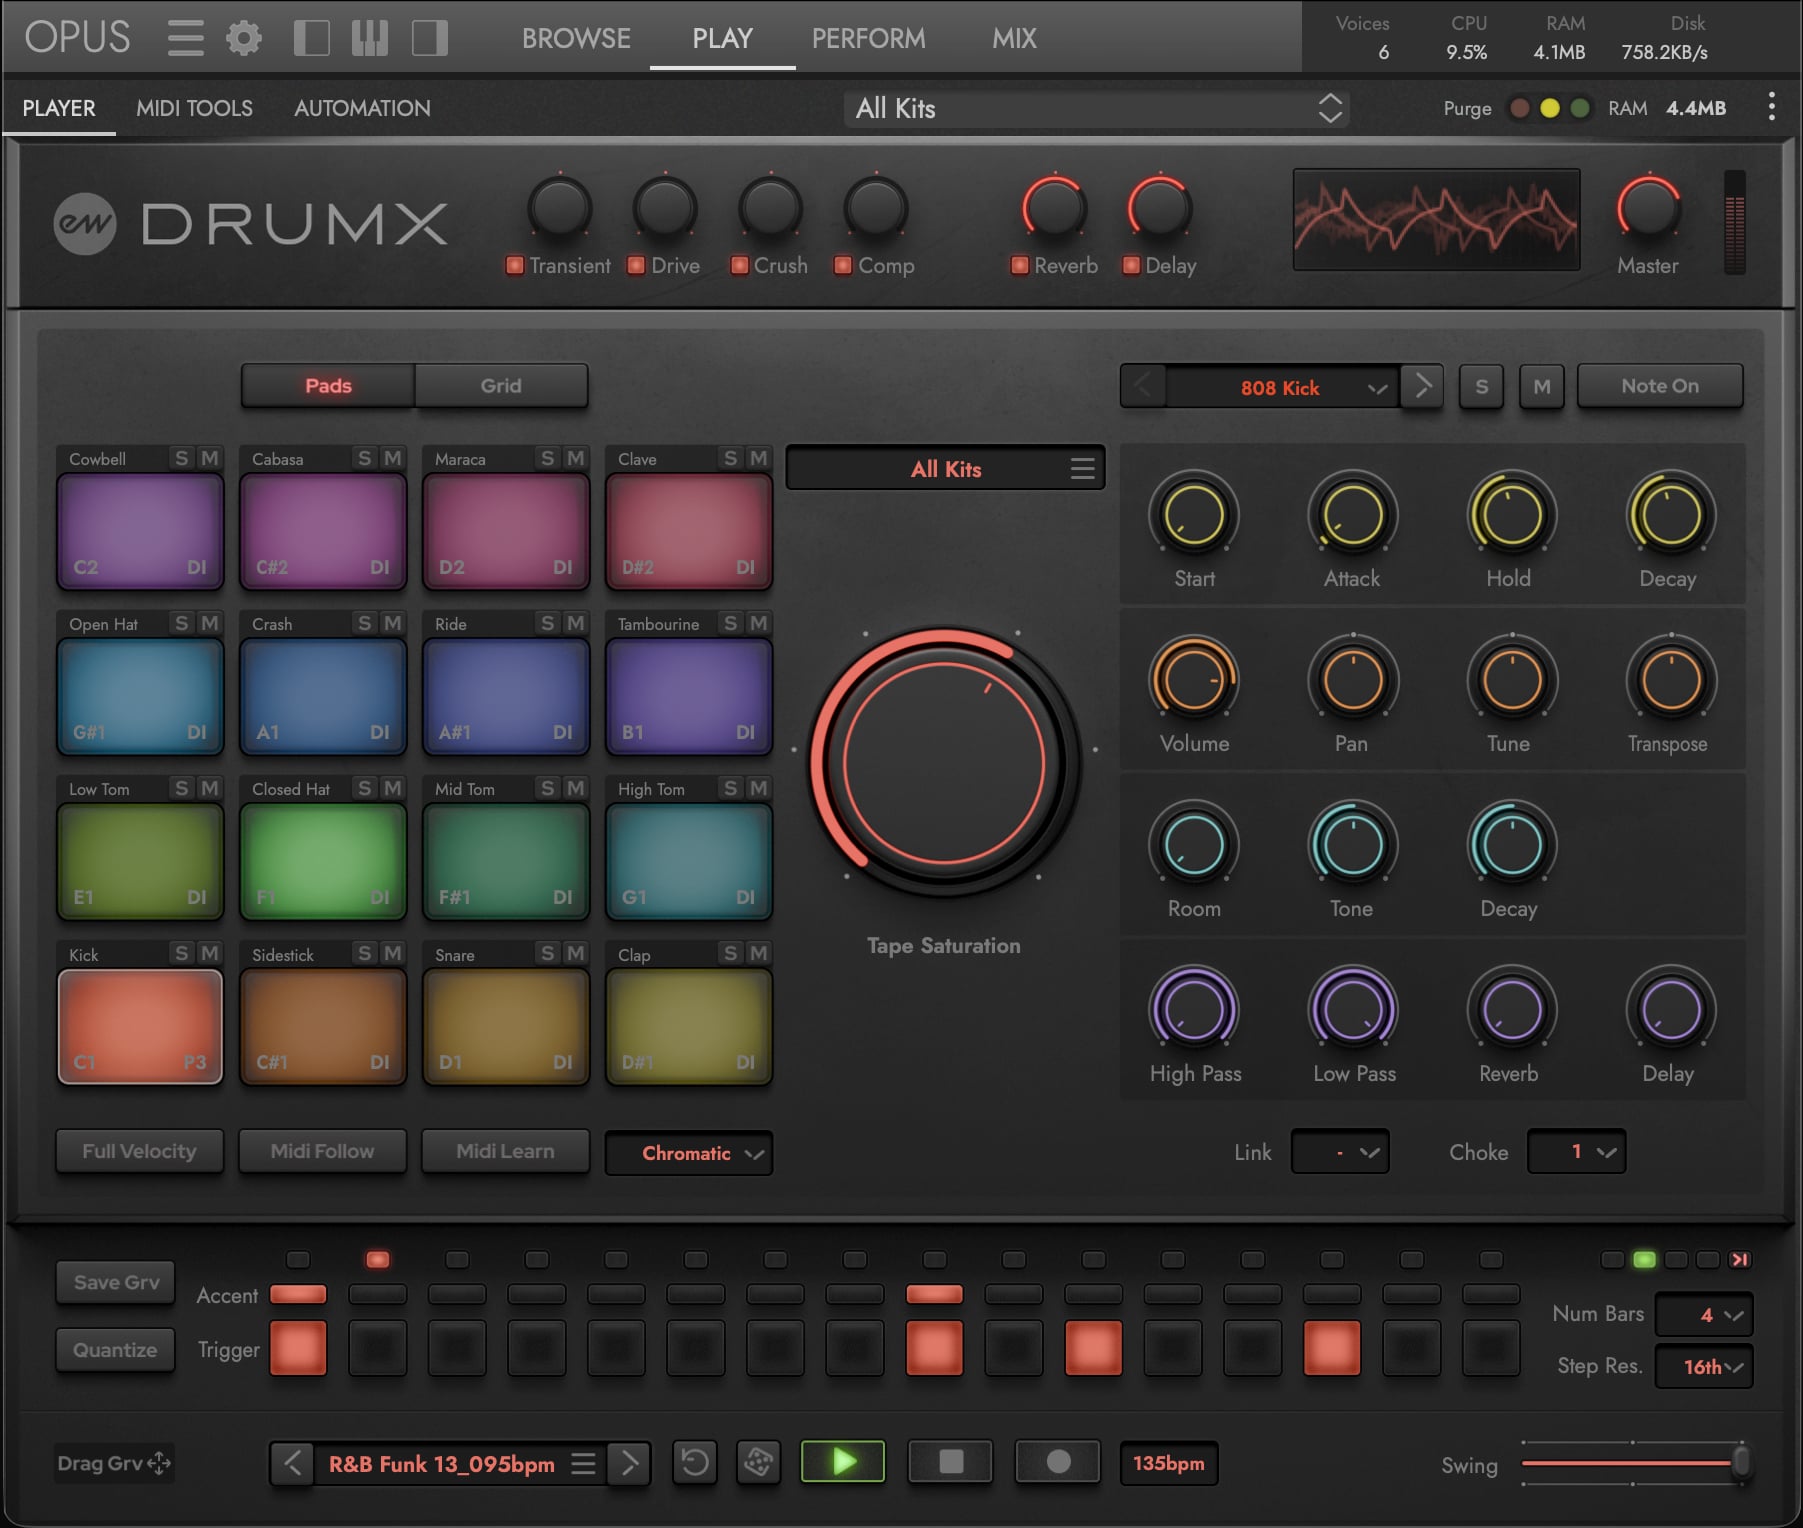
Each pad displays:
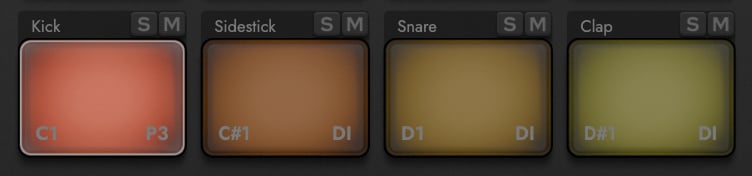
- Drum Type — The drum sound name (e.g. Kick, Snare). Click the label to make the pad the Focused Pad without triggering its sound — useful for editing parameters silently.
- Solo (S) and Mute (M) buttons — per-pad solo and mute controls.
- MIDI Assignment — The MIDI note assigned to the pad.
- Tape Saturation — The currently selected tape saturation level.
A MIDI Mapping
The MIDI Map menu sets the MIDI note map that drives the pads — pick a built-in map, create a new custom map, or remove an existing one. Use the MIDI Learn button to assign incoming MIDI notes to the Focused Pad (active only when a custom map is selected).
- Chromatic (default) — Ideal for drum pad controllers. Maps drums starting on note C1 up chromatically to note D#2.
- GM Drum — The standard drum map for General MIDI, typically used with keyboard controllers.
- Custom — User-configurable maps for any setup. To build one:
- Click the MIDI Map menu and select Create New….
- In the Create Custom MIDI Map window, type a name for the preset, then click OK.
- The new MIDI map is automatically selected.
- Click on a pad to make it the Focused Pad.
- Click the MIDI Learn button to assign the next incoming MIDI note to the currently Focused Pad. The MIDI Note Assignment is saved automatically and appears in the lower-left corner of each pad.
- Repeat steps 4 and 5 until all desired pad assignments have been set.

PLEASE NOTE: The MIDI Learn button is only active when a custom (user-created) map is selected. It is disabled for the built-in Chromatic and GM maps.
B Additional Pad Controls
- Full Velocity — When enabled, all notes play at maximum velocity (127) regardless of input velocity. Useful for consistent volume during step programming.
- MIDI Follow — When enabled, the Focused Pad automatically switches to whichever pad last received a MIDI note. Useful for quick editing while performing.

C Special Control for All Kits Instrument
- Finalize Kit — Available only when a DX All Kit instrument is loaded. Removes from memory any sounds not assigned to a pad (not the current selection in the Drum Selector menu), reducing resource usage and speeding up loading times. Use after building a custom kit from DX All Kits: select the drums you want on each pad, then click Finalize Kit to drop everything else. See SECTION 2.1.1 DX ALL KITS for details on the construction-kit workflow.
