1.2.1 Initial Setup
Before diving in, a few steps are required to optimize and setup Opus for use.
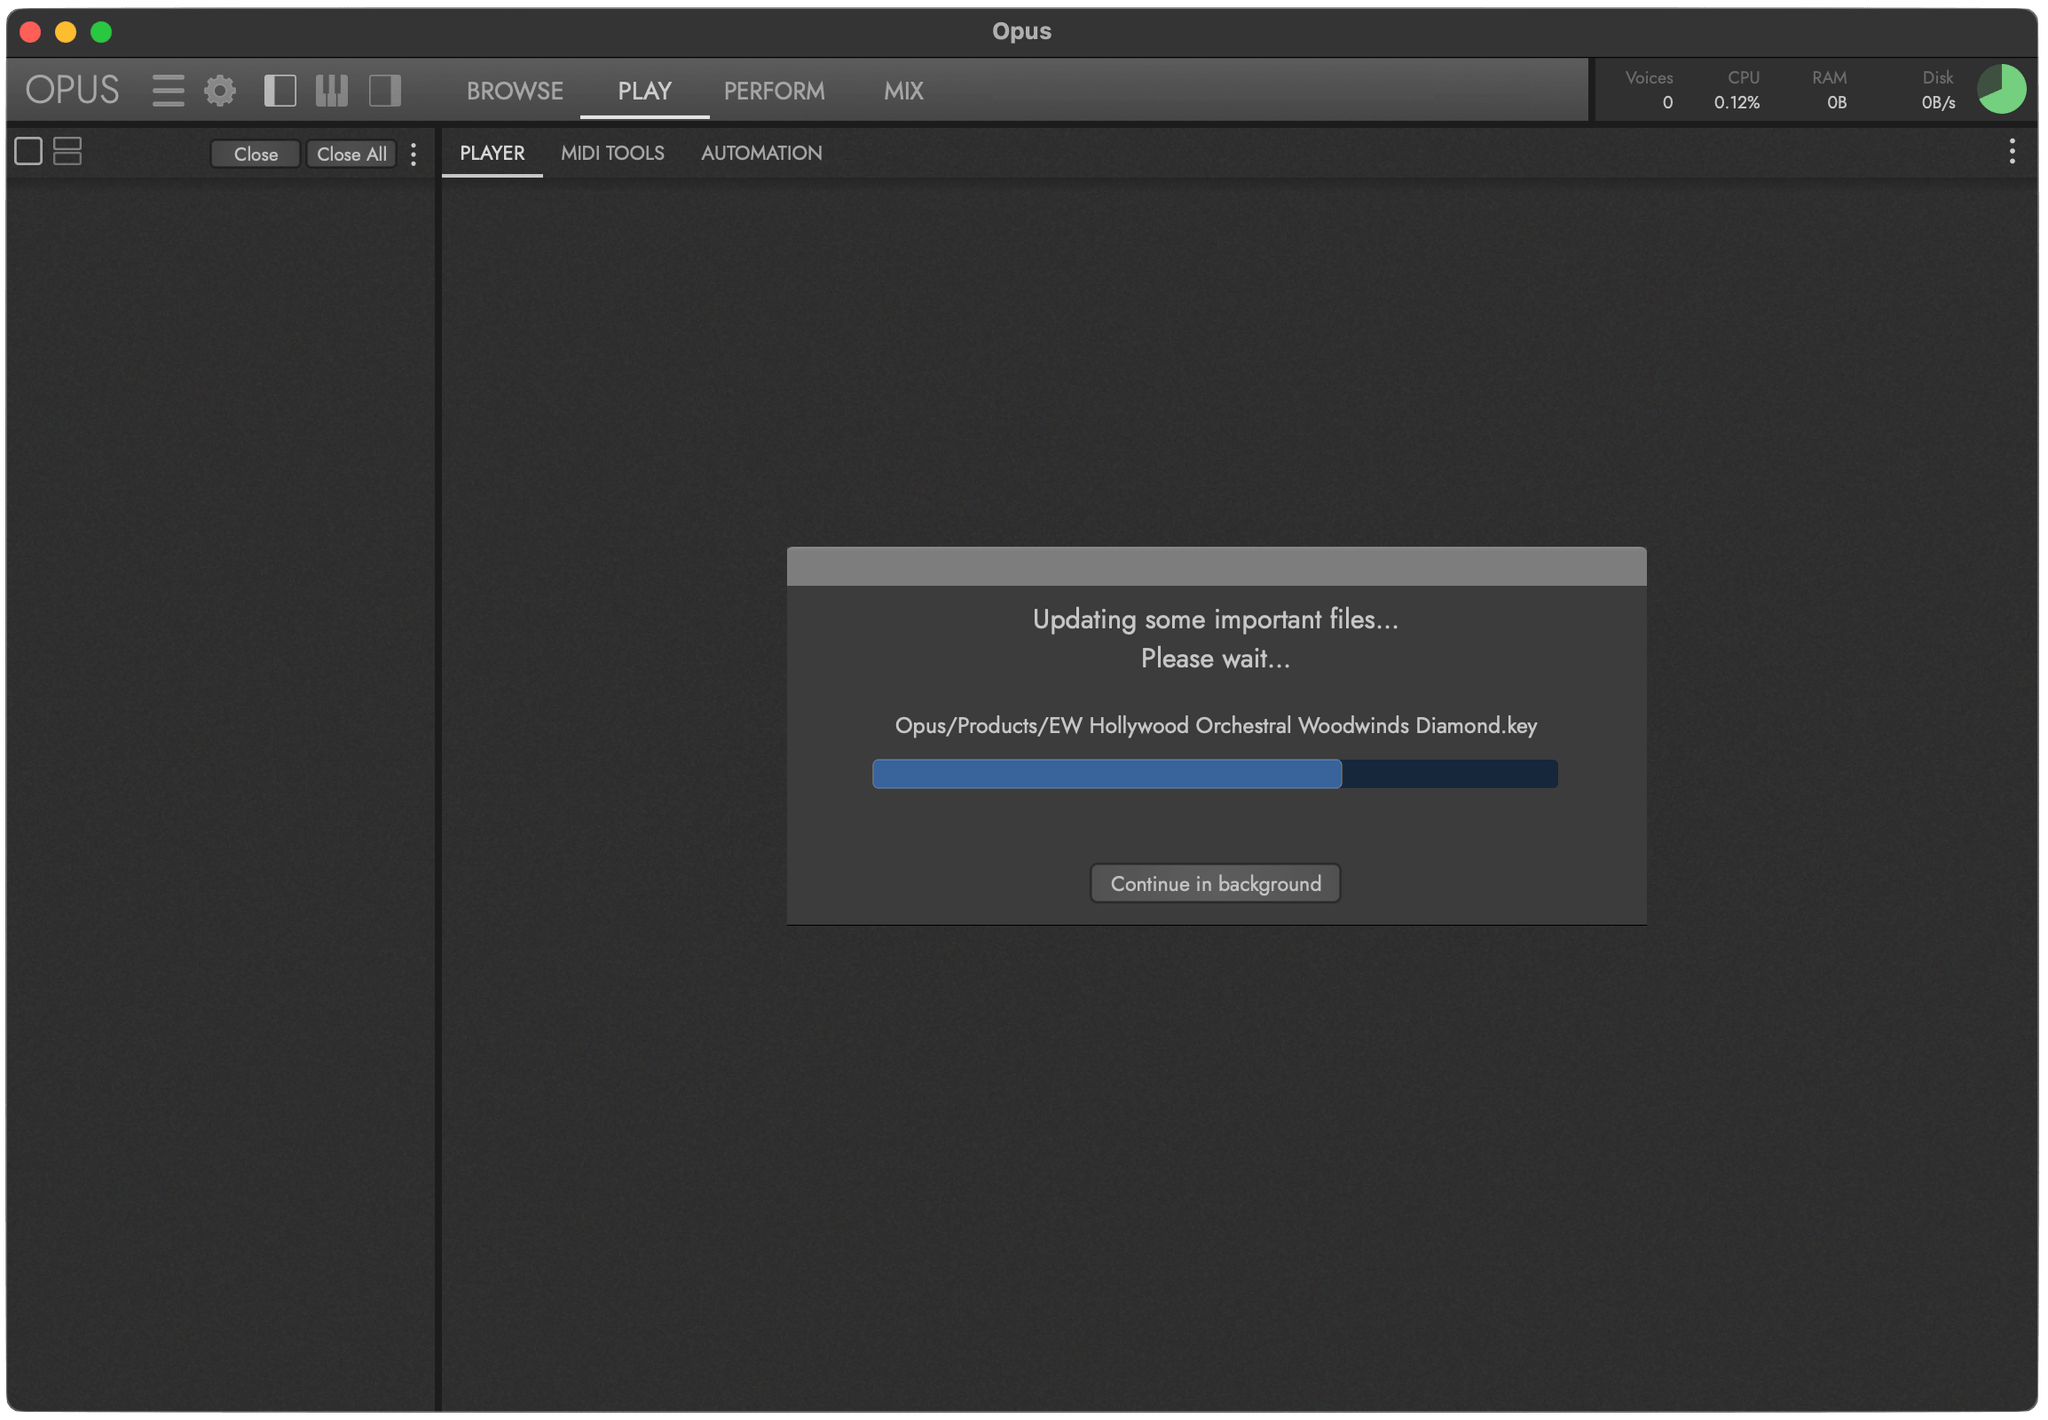
A Every Time You Launch Opus
If a new update is available, the Auto Update will run automatically when Opus is launched. Wait for it to complete before proceeding — it should only take a few seconds. Auto Update runs each time Opus detects a new update, not just on the first launch.
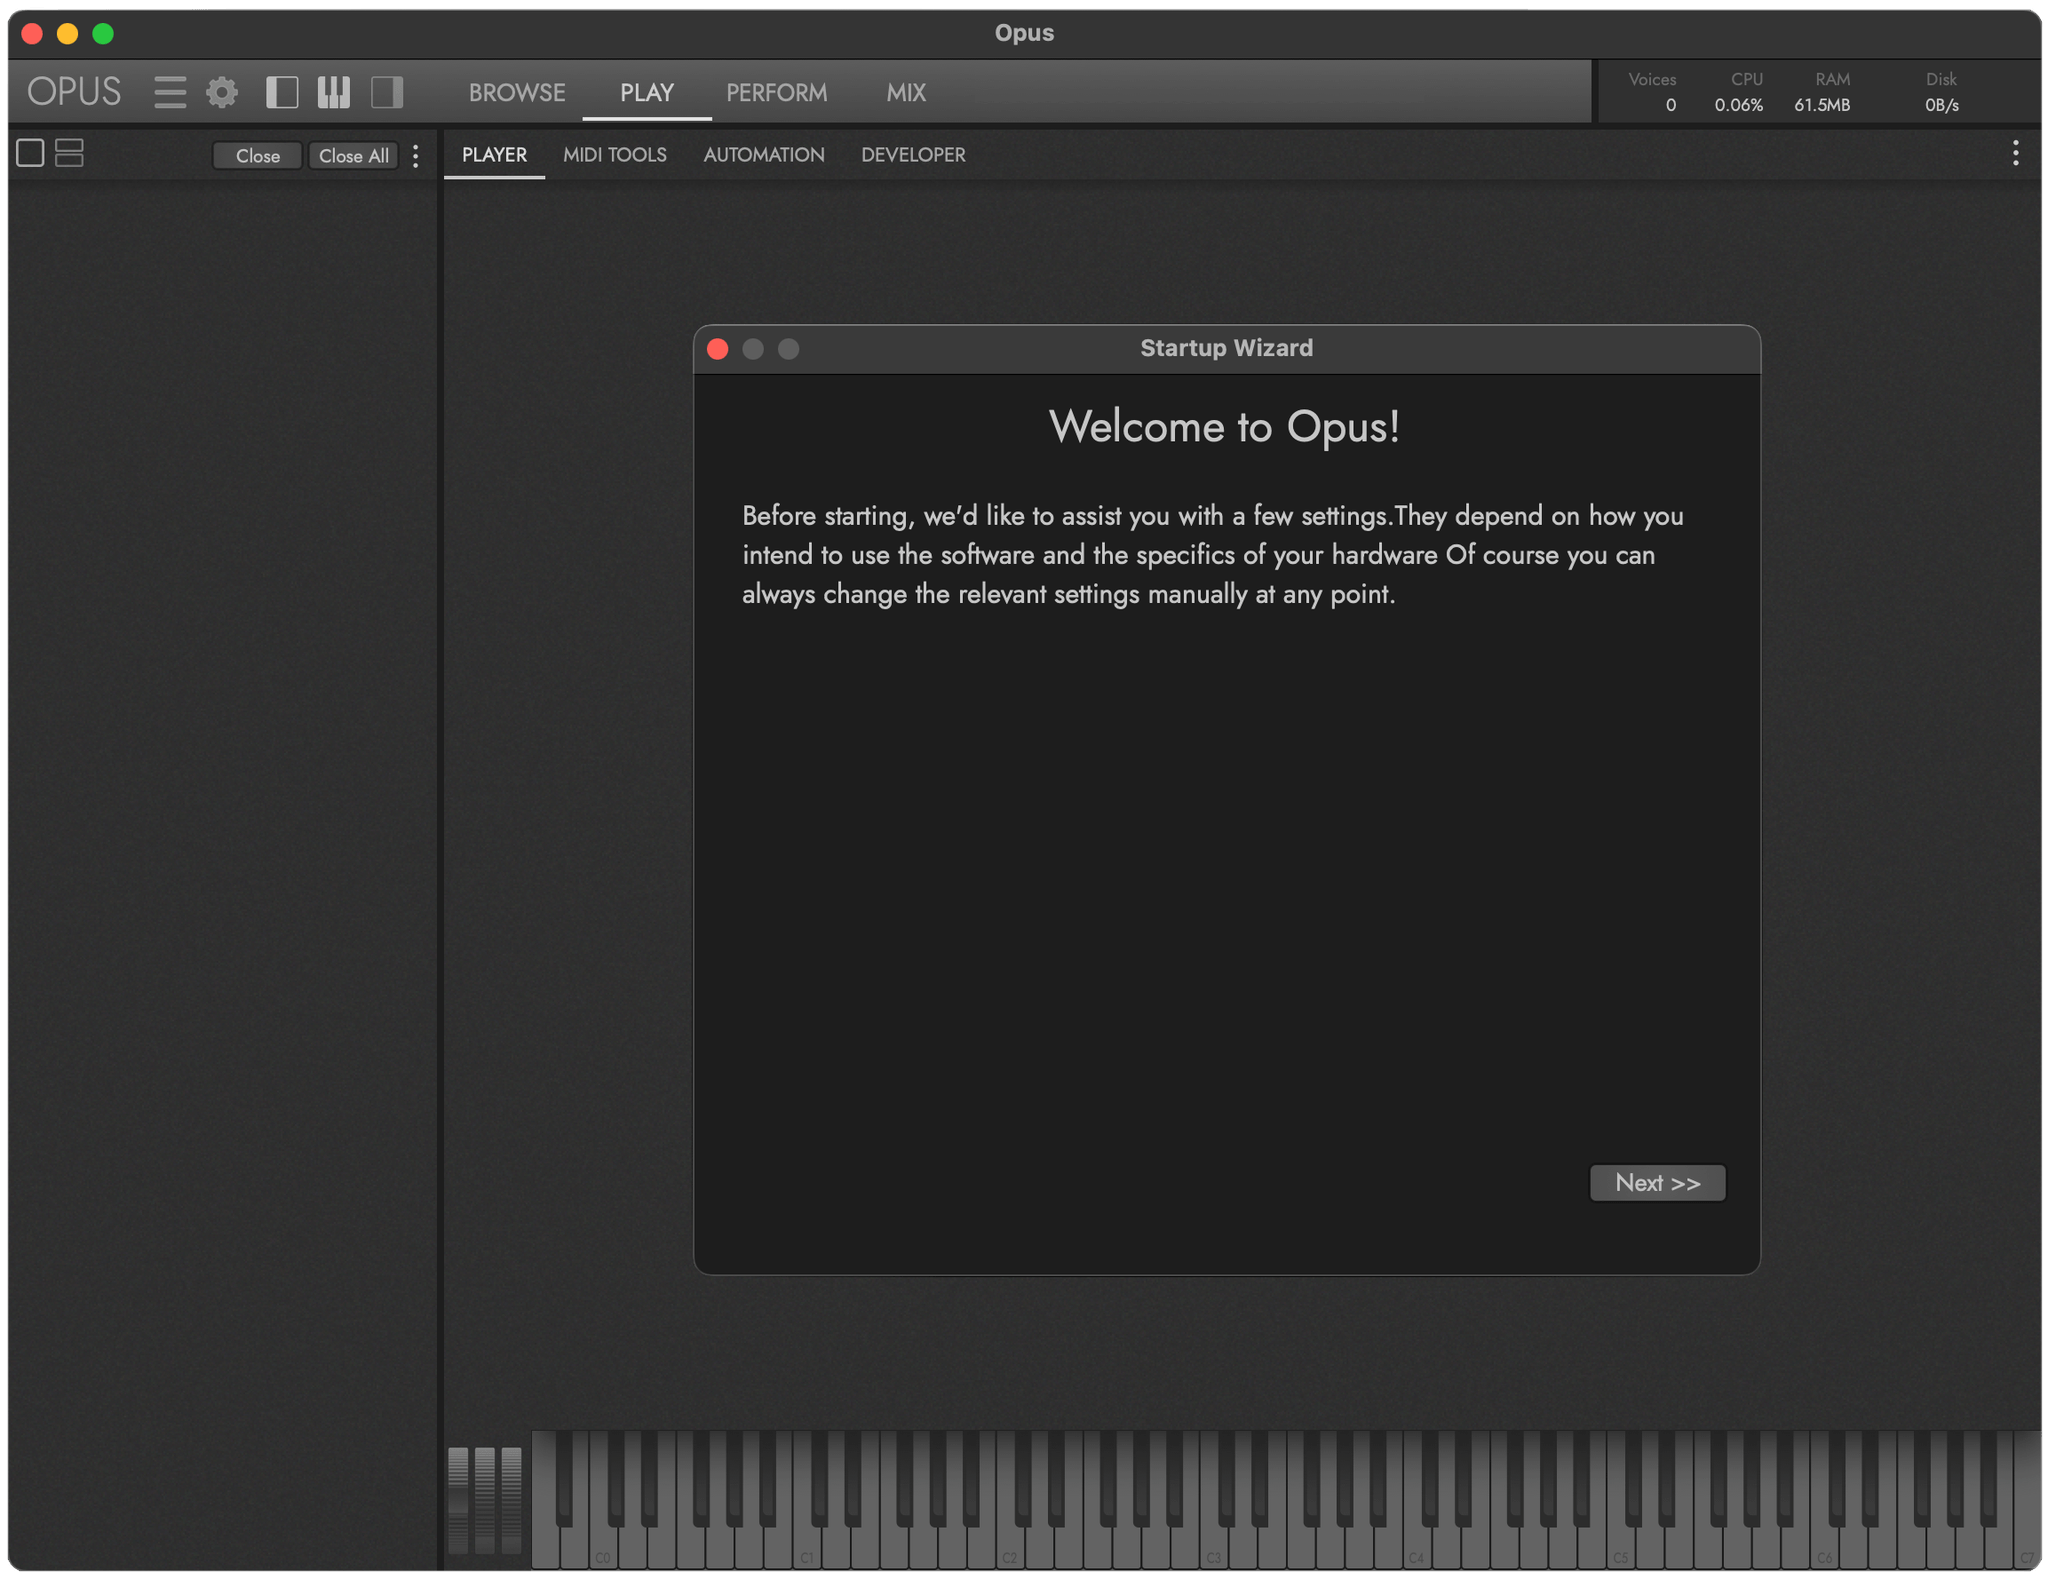
B Launching Opus for the First Time
The Setup Wizard dialog appears the very first time Opus is launched. Follow the series of prompts to help optimize the CPU and disk performance of Opus based on your workflow and computer’s specifications. The Setup Wizard is a one-time process, but you can access the same settings at any time afterward in Preferences.
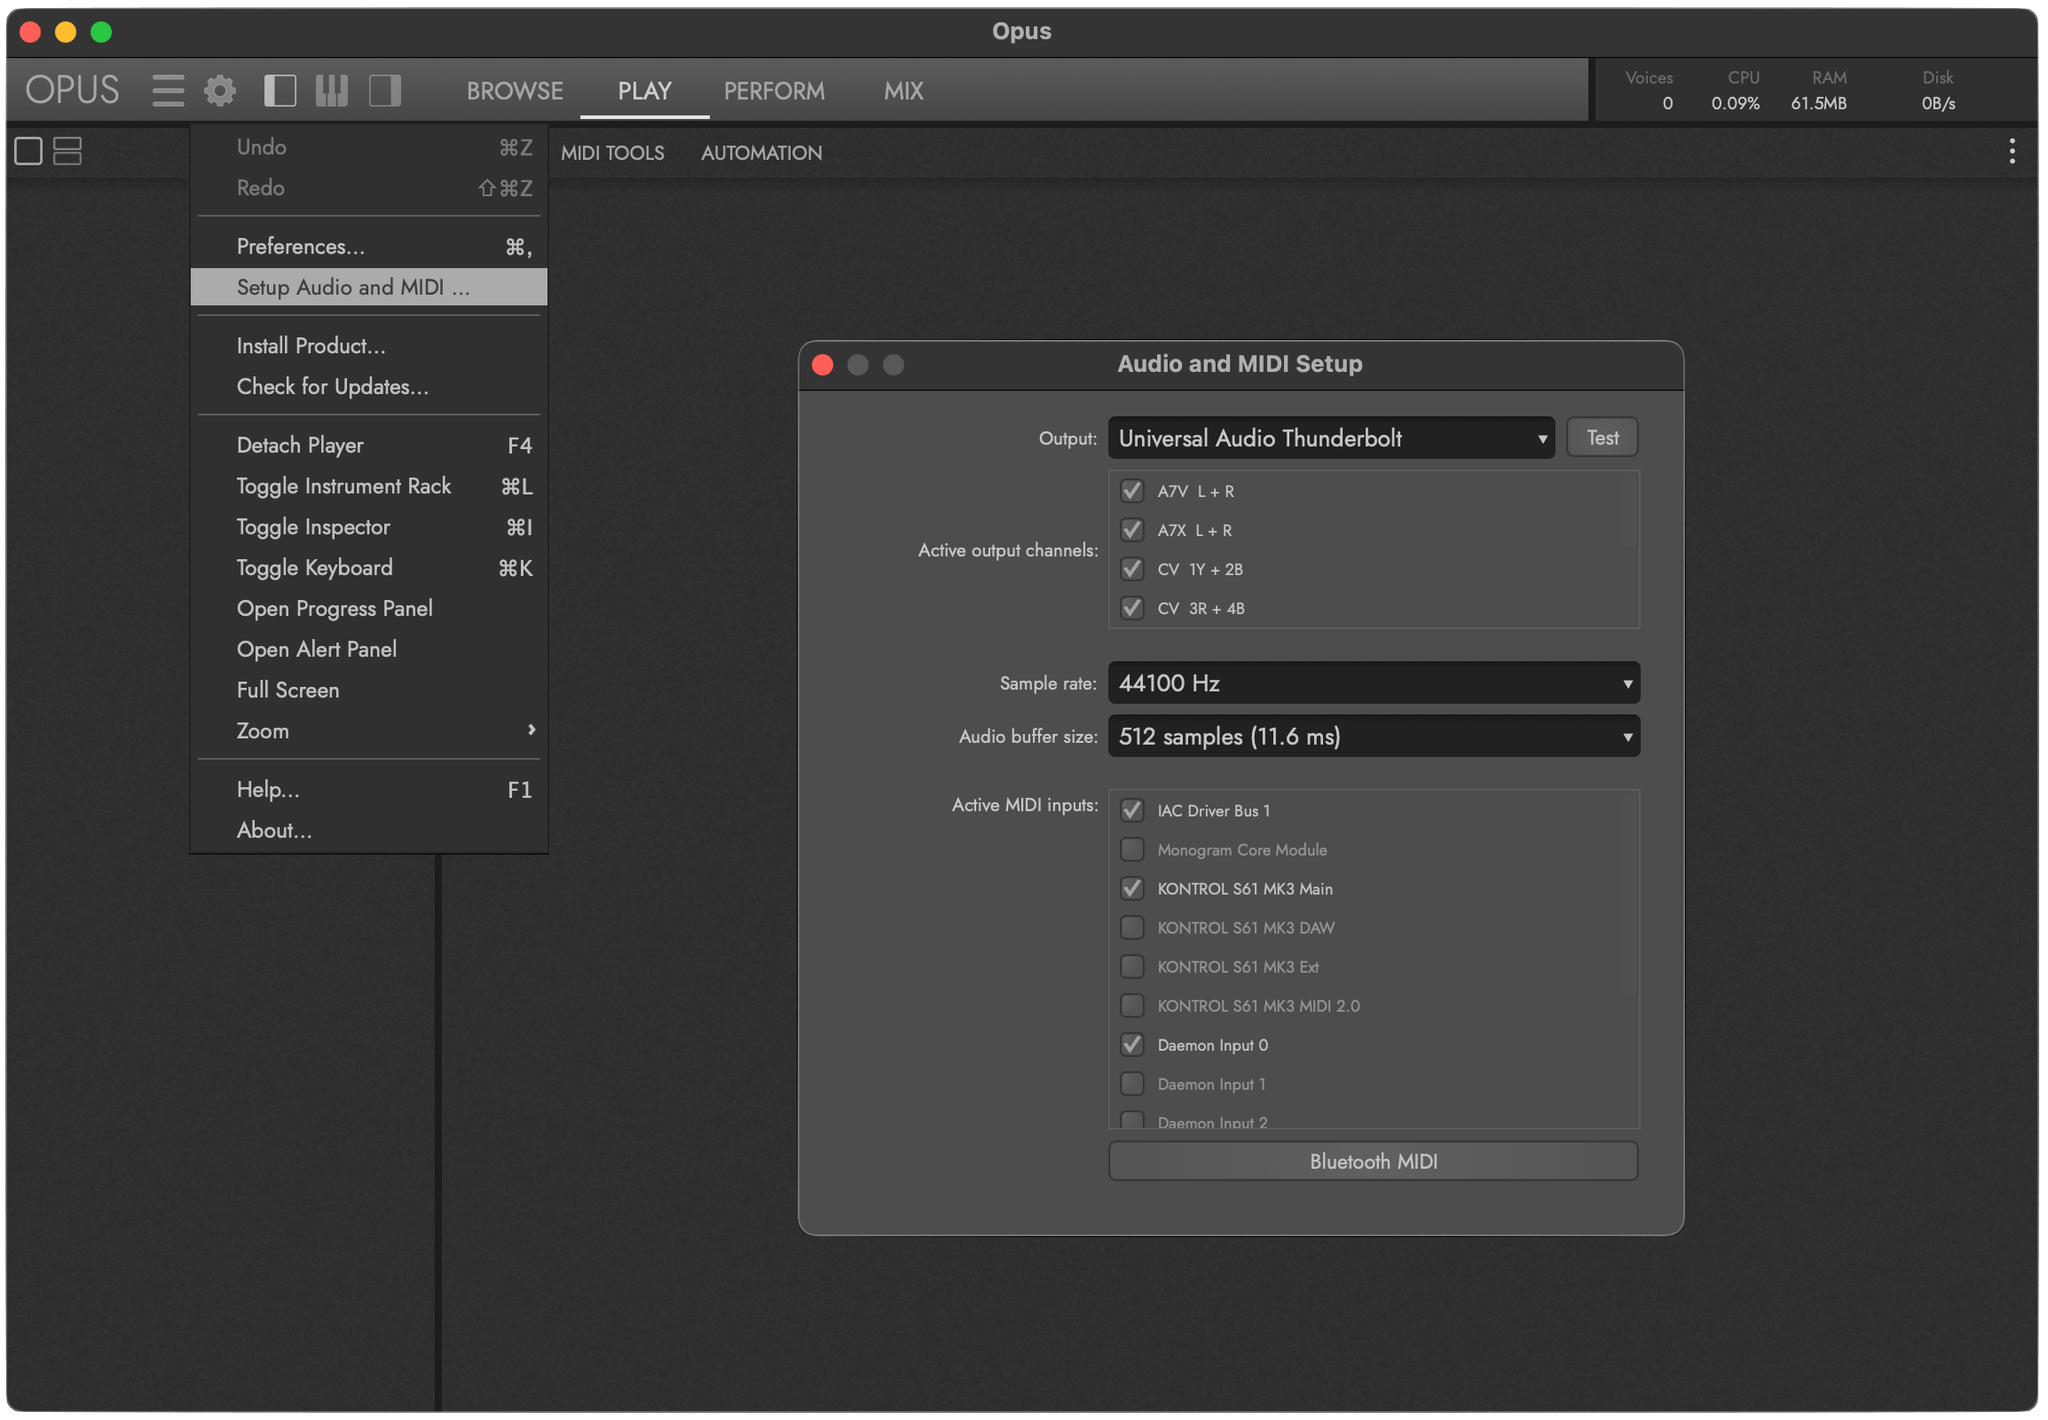
C Audio & MIDI Setup
Audio and MIDI Devices can be selected in the Settings Menu by selecting Setup Audio and MIDI from the list.
- Select an audio device from the Audio Output menu, and test the connection by clicking the Test Button to send a test tone.
- In the MIDI Inputs menu, check the box next to any available MIDI device(s) you wish to enable.
D How to Change Preferences Anytime
You can change these settings at any time by clicking the Settings Menu and choosing Preferences. The Preferences window provides controls across five tabs: Audio Engine, Audio Drives, MIDI, Locations, and Other. Change things like Streaming options, Output Configurations, MIDI Channel Assignment modes, Drive types, and more.
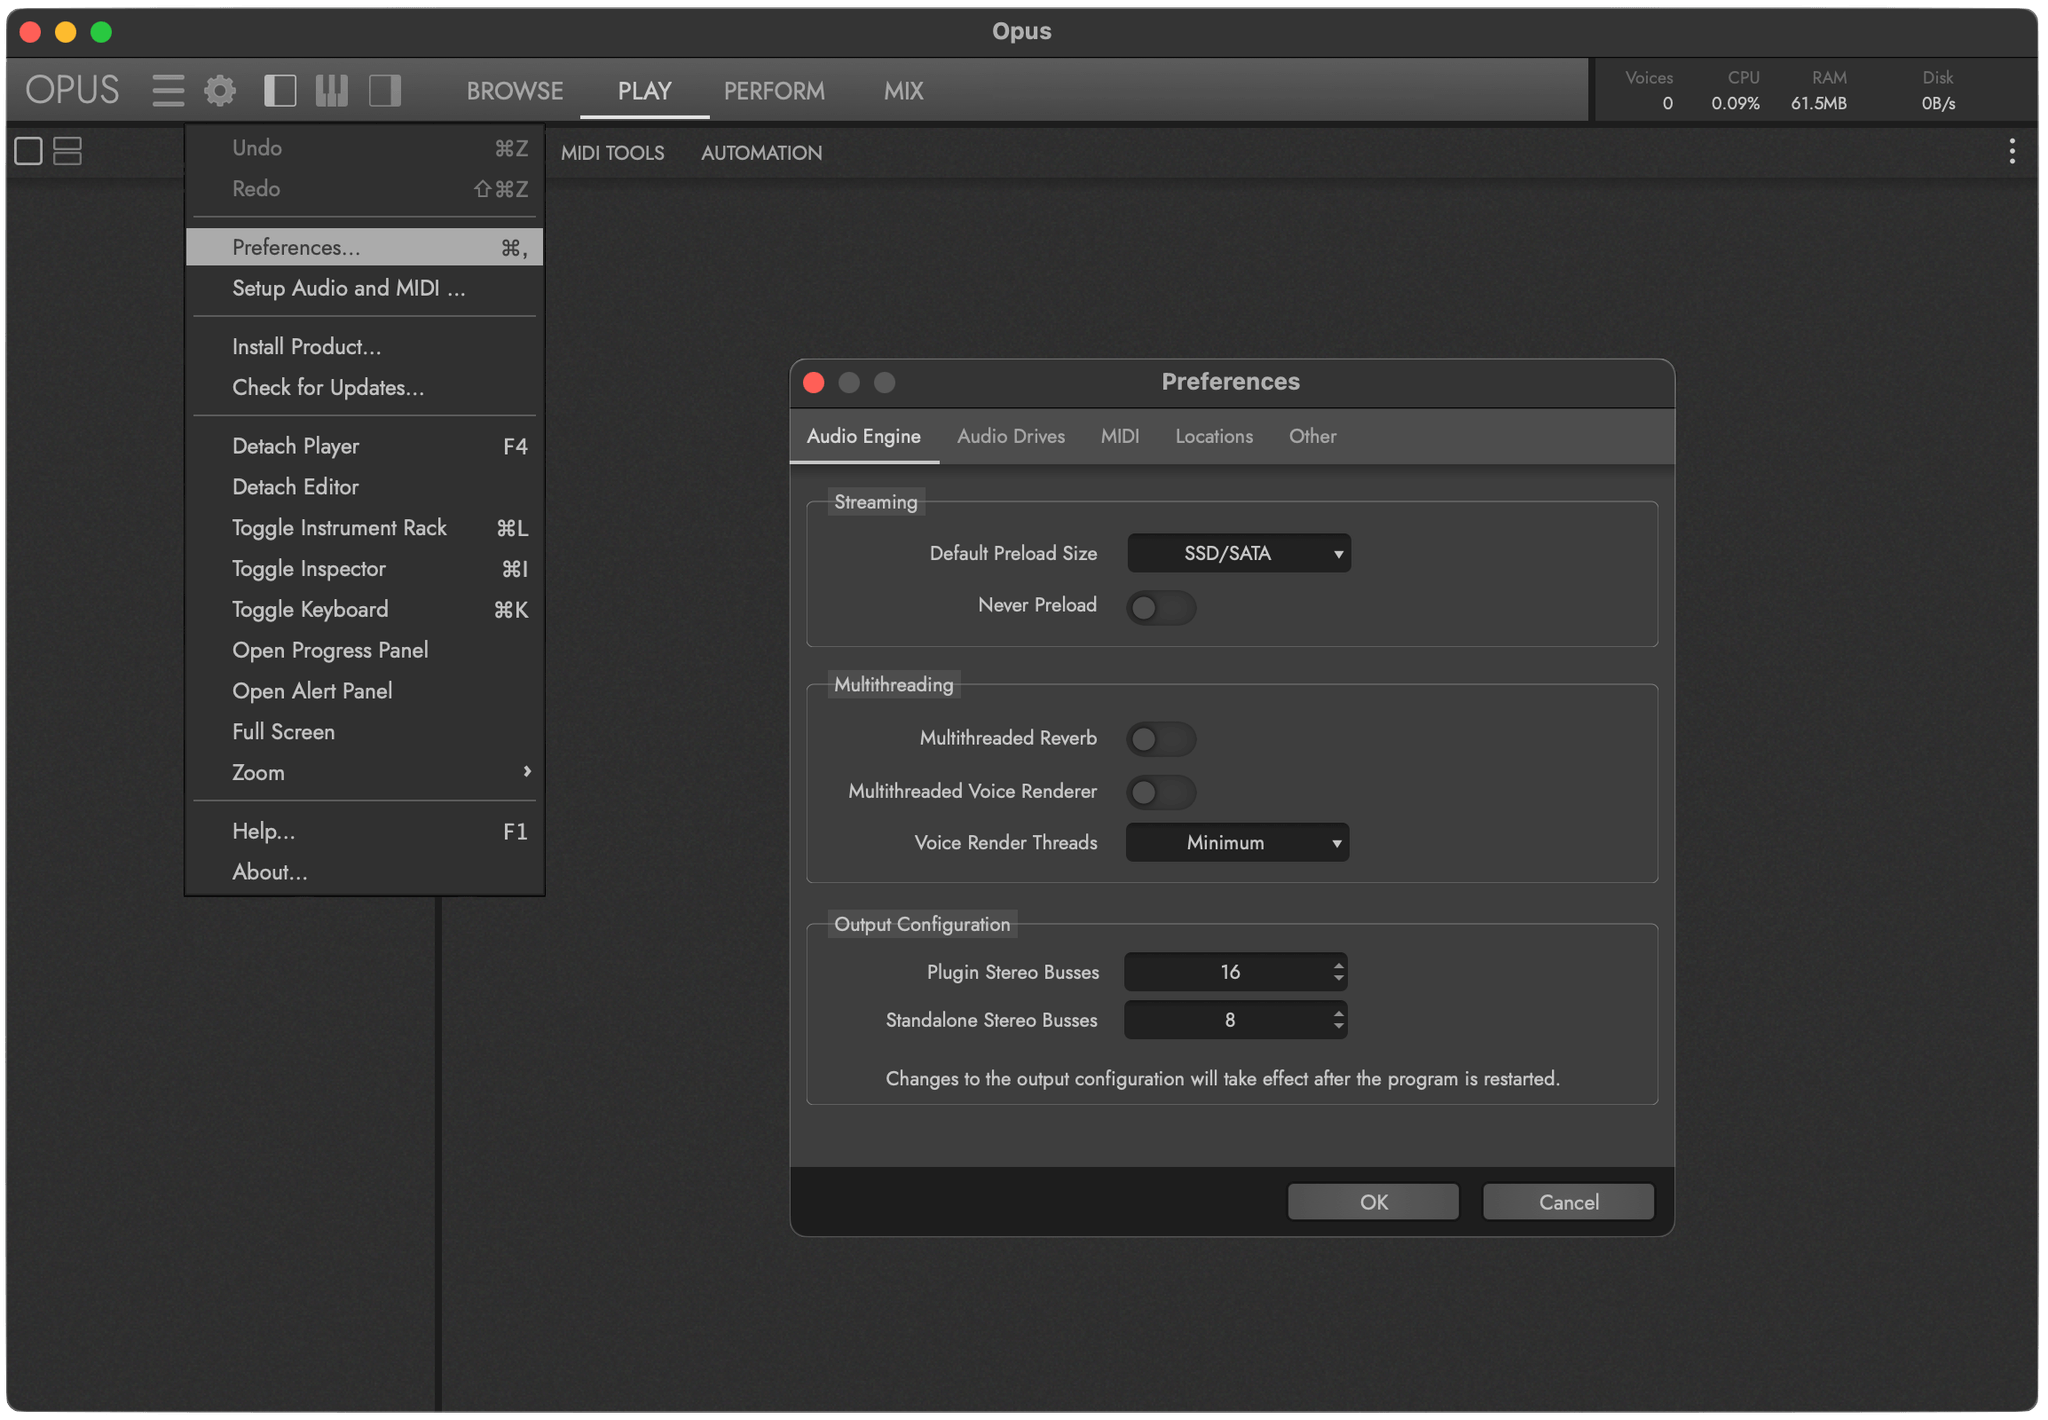
OPUS SOFTWARE MANUAL | SECTION 1.1.3 PREFERENCES contains more information about the settings available in the Preferences window.